What are the individual steps of photochemical etching? Take a look at the processes needed to create precision metal parts.
1. Material Selection
Virtually all metals can be etched with thicknesses of 0.015 mm – 2.00 (on request 4.0) and widths of 610 mm – 610 mm (on request 610 x 1800 mm).
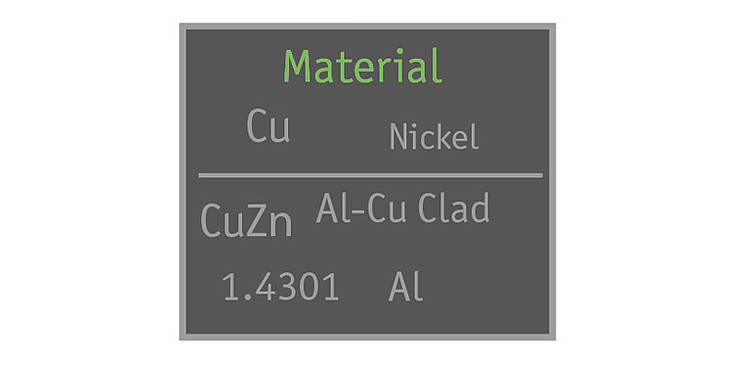
- Stainless steel, Nickel
- Aluminum,C opper & copper alloys
- Clad metals
2. Prototyping
As long-time experts in etching technology, we are happy to advise you on the design of your prototype. Our designers can also work from your existing drawing.
3. Pretreatment / Cleaning
The material is prepared mechanically to eliminate waxes, rolling oil and other impurities.
4. Lamination / Photoresist
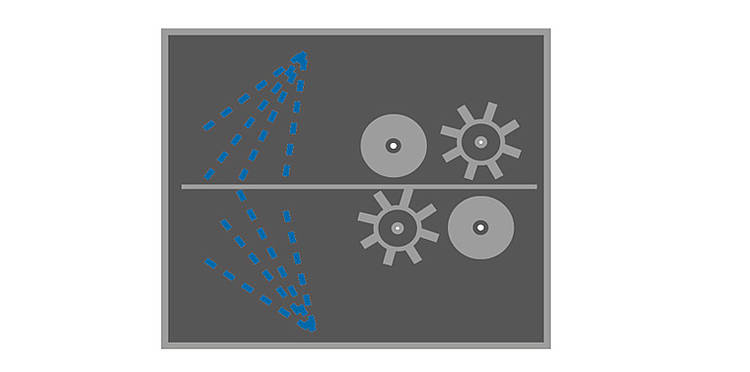
A good adhesion of the photoresist is crucial for the quality of the etched parts. The sheets are coated with an UV-sensitive film on both sides, so the metal can be etched simultaneously from the top and bottom.
5. Exposure
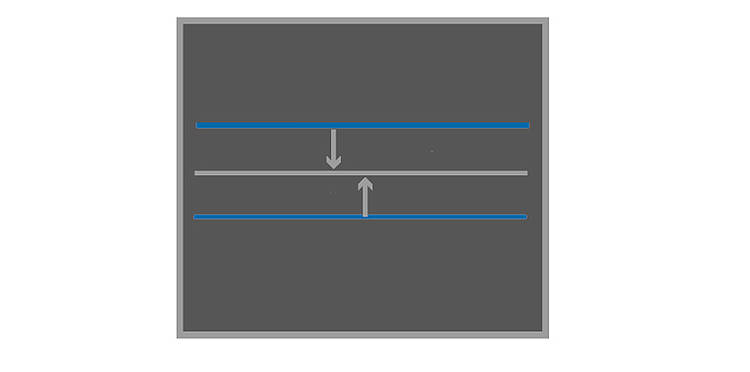
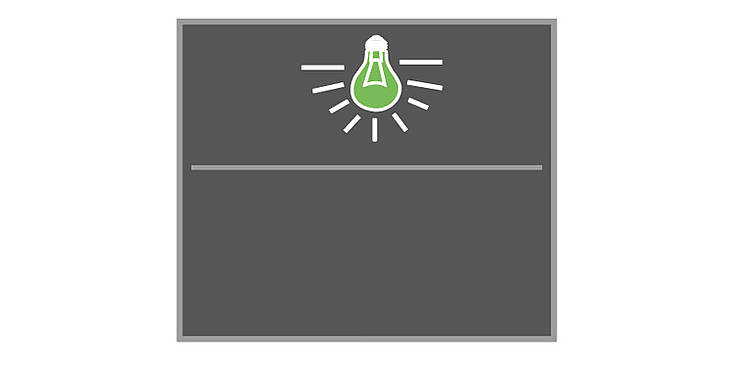
The parts design is transferred to the metal in a lithographic process using UV light.
6. Developing
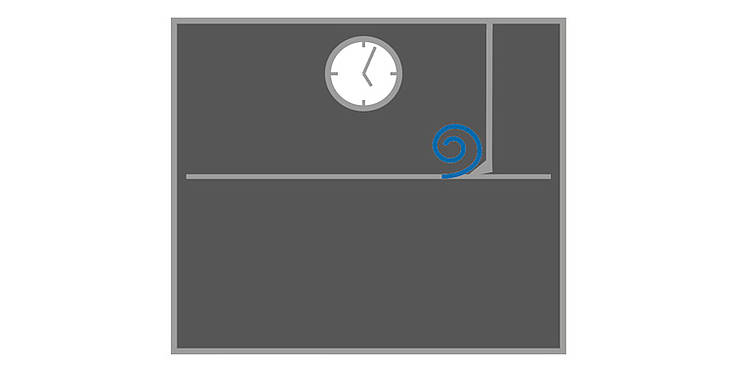
During development, the unexposed negative resist is removed, while the exposed positive resist, which is cured under UV irradiation, remains on the metal and protects it during the etching.
7. Etching
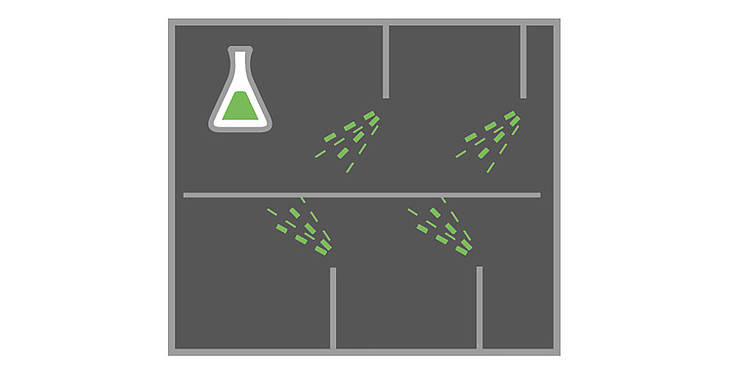
In the next step, the sheet is sprayed with an acidic etching solution. The exposed metal is etched away simultaneously on the front and the back, so the desired design is exposed.
8. Finish
In the last step, the so-called “stripping”, the protective film is removed from the finished parts and the high-quality etched molding can be further processed on customer request.

On the one hand there is the possibility of coating, e.g. gilding, silvering, tinning or chrome plating. On the other hand, the part geometry can be further changed by bending, forming, punching, water jet cutting, etc.
9. Quality inspection
The finished parts are subjected to a visual and dimensional test, using our measuring system.
